


Jenkins is a powerful application that allows continuous integration and continuous delivery of projects, regardless of the platform you are working on. It is a free source that can handle any kind of build or continuous integration. You can integrate Jenkins with a number of testing and deployment technologies. In this tutorial, we would explain how you can use Jenkins to build and test your software projects continuously.
How to Download & Install Jenkins on Windows

Jenkins may be installed on either Windows or Unix platforms, but we will focus on Windows installation only.
Prerequisites:
Before you proceed to install Jenkins in your windows system, there are some prerequisites for Jenkins to install Jenkins on your computer.
Hardware requirements:
- You need a minimum of 256 MB of RAM on your computer or laptop to install Jenkins
- You need at least 1 GB of space in your hard drive for Jenkins.
Software Requirements:
- Since Jenkins runs on Java, you need either the latest version of Java Development Kit (JDK) or Java Runtime Environment (JRE).
Release Types
Jenkins releases two types of versions based on the organization's needs.
- Long-term support release
- Weekly release
Long term support release (LTS) :
Long-term support releases are available every 12 weeks. They are stable and are widely tested. This release is intended for end-users.
Weekly release:
Weekly releases are made available every week by fixing bugs in their earlier version. These releases are intended for plugin developers.
We will use the LTS release though the process remains the same for the Weekly release.
How to Download Jenkins?
Following steps should be followed so that to install Jenkins successfully:
Step 1) Got to https://jenkins.io/download/ and select the platform. In our case Windows

Step 2) Go to the download location from the local computer and unzip the downloaded package. Double-click on unzipped jenkins.msi. You can also Jenkin using a WAR (Web application ARchive) but that is not recommended.

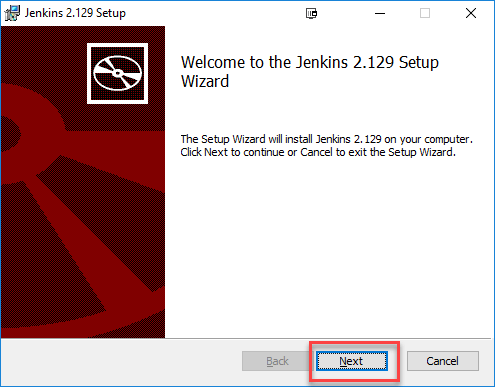
Step 3) In the Jenkin Setup screen, click Next.
Step 4) Choose the location where you want to have the Jenkins instance installed (default location is C:\Program Files (x86)\Jenkins), then click on Next button.

Step 5)Click on the Install button. (In 2.249.2 they ask for the port number you can check whether that the port is already there by clicking the test button use)

Step 6) Once install is complete, click Finish.

Step 7) During the installation process an info panel may pop-up to inform the user that for a complete setup, the system should be rebooted at the end of the current installation. Click on the OK button when the Info panel is popping-up:

How to Unblock Jenkins?
After completing the Jenkins installation phase, you should proceed further and start its configuration. The next steps will guide you on how you can unblock the Jenkins application:
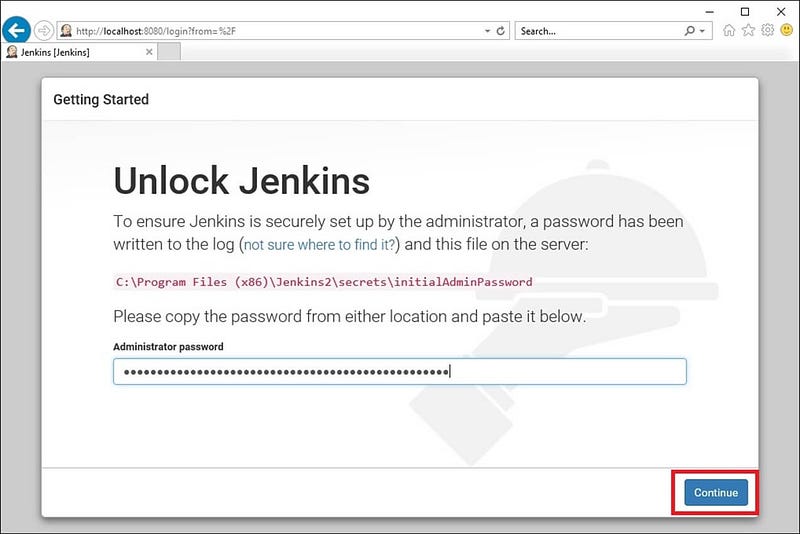
Step 1) After completing the Jenkins installation process, a browser tab will pop-up asking for the initial Administrator password. To access Jenkins, you need to go to browse the following path in your web browser.
If you can access the above URL, then it confirms that Jenkins is successfully installed in your system.

Step 2) The initial Administrator password should be found under the Jenkins installation path (set at Step 4 in Jenkins Installation).
For default installation location to C:\Program Files (x86)\Jenkins, a file called initialAdminPassword can be found under C:\Program Files (x86)\Jenkins\secrets.
However, If a custom path for Jenkins installation was selected, then you should check that location for initialAdminPassword file.
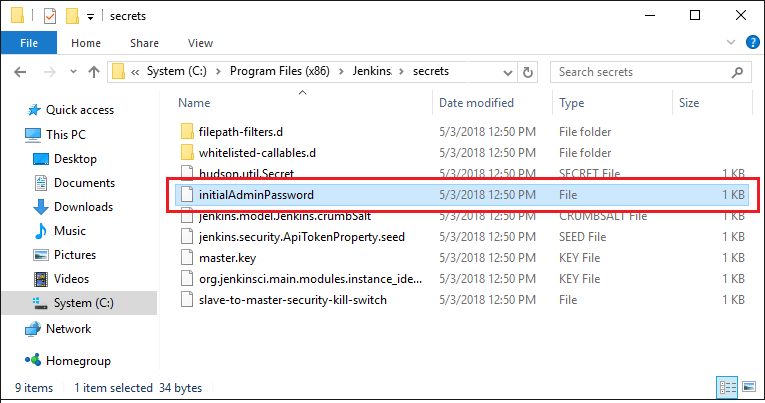
Step 3) Open the highlighted file and copy the content of the initialAdminPassword file.

Step 4) Paste the password into the browser’s pop-up tab (http://localhost:8080/login?form=%2F) and click on the Continue button.
Customize Jenkins
You can also customize your Jenkins environment by the below-given steps:
Step 1) Click on the “Install suggested plugins button” so Jenkins will retrieve and install the essential plugins
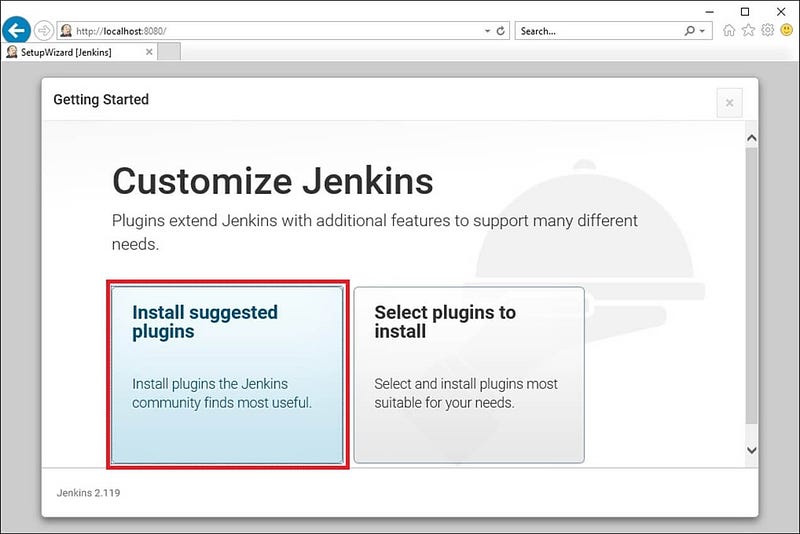
Jenkins will start to download and install all the necessary plugins needed to create new Jenkins Jobs.

Step 2) After all the suggested plugins were installed, the “Create First Admin User” panel will show up. Fill all the fields with desired account details and hit the “Save and Finish” button.
Step 3) Once you have filled the data, finally it will ask for URL information where you can configure the default instance path for Jenkins. Leave it as it is to avoid any confusion later. However, if another application is already using the 8080 port, you can use another port for Jenkins and finally save the settings, and you are done with the installation of Jenkins. Hit the “Save and Continue” button:
Below you can find the Jenkins instance up and run, ready to create the first Jenkins jobs:
 |
| the dashboard of Jenkins |

0 Comments